HDR Portraits
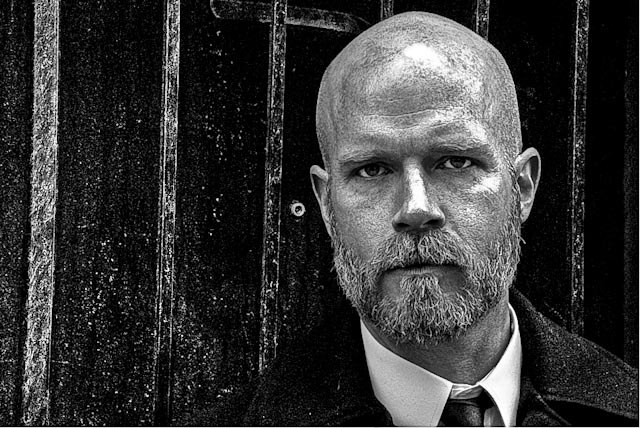
By now I am sure you have heard of HDR or High Dynamic Range Photography. Usually the images are done for landscapes or architecture where there is little or no movement from the subject. This is because you need to blend several images, taken at different exposures, together to show the full dynamic range of color. Doing this with portraits has been difficult or impossible because of the (however so slight) movement of a portrait subject. Not anymore.
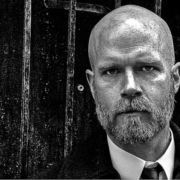
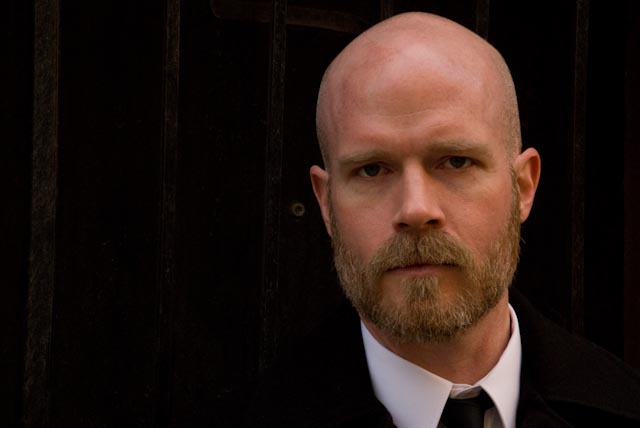
In the tutorial below I show you how I got to the dramatic image above from an everyday image that is well exposed but is nothing special.
With Lightroom 2 and Photomatix Pro and a single image of James I was able to create an HDR photo in just a few minutes. The image isn’t perfect but it’s an example of what you can do in a very short time and a little creative thinking.
To do this tutorial, first find an image that you want to work with. Then make two copies of that image. They need to be the same size, exposure, etc.; exact duplicates. I jump ahead in the video to where I have three copies of the same image. Once you have your three, click the image below to watch the video.
(A new window or tab will open; then just click the play button)
(Best viewed in at least 1024×768 or greater)
Not too tough was it? Do you like the results of your work? If not, go back and play a bit more. Tweak the settings until you get just the HDR portrait you are looking for. Remember, you will get your most dramatic results from portraits of those people that have a lot of drama and character to their looks.
Until next time…
Happy Shooting!


I like the after photo better than the before. You have the magick touch.
The site is great
Great stuff, thank you, never considered HDR for portraits. Will enjoy reviewing some of my portraits now and seeing what i can achieve.
Thanks again,
Brian
Michael, you always are positive to other photographers and give solid advice. This was enlightening for me to consider portraits for HDR images. Thanks. curious how you captured the screen in your video, just excellent quality! I look forward to more from you, again thanks, happy Holidays.
Thanks Michael, I love to be playing with this kind of stuff, I like the way you are doing.
I learned some-ting good today. Happy Holydays.
Enrique
Excellent tutorial! It looks like Lightroom and Photomatix Pro work together really well. I’m looking forward to experimenting with this. Thanks for sharing.
Kate Miller
Captivating Imagery
http://www.captivatingimagery.com
I was just checking out the web for fellow photographers and found this site, and must say I’m happy I did. Very nice work you have throughout the site. If you get a chance, take a look at my gallery at http://www.ducktrapphoto.com